Best Tools for Septic Tank Installation
Installing a septic tank is a critical task that requires the right tools to ensure efficiency, safety, and compliance with local regulations. This article explores the best tools used in septic tank installation, providing detailed insights to help professionals and DIY enthusiasts alike.
Essential Tools for Septic Tank Installation
| Tool Name | Purpose | Key Features |
|---|---|---|
| Excavator | Digging the septic tank hole | Powerful, precise digging, various bucket sizes |
| Shovels | Manual digging and fine adjustments | Durable, ergonomic handles |
| Laser Level | Ensuring proper slope and alignment | High accuracy, easy to read |
| Pipe Cutter | Cutting pipes to required lengths | Sharp blades, adjustable sizes |
| Pipe Wrench | Tightening and loosening pipe fittings | Strong grip, adjustable jaw |
| Compactor | Compacting soil around the tank | Vibratory or plate compactors |
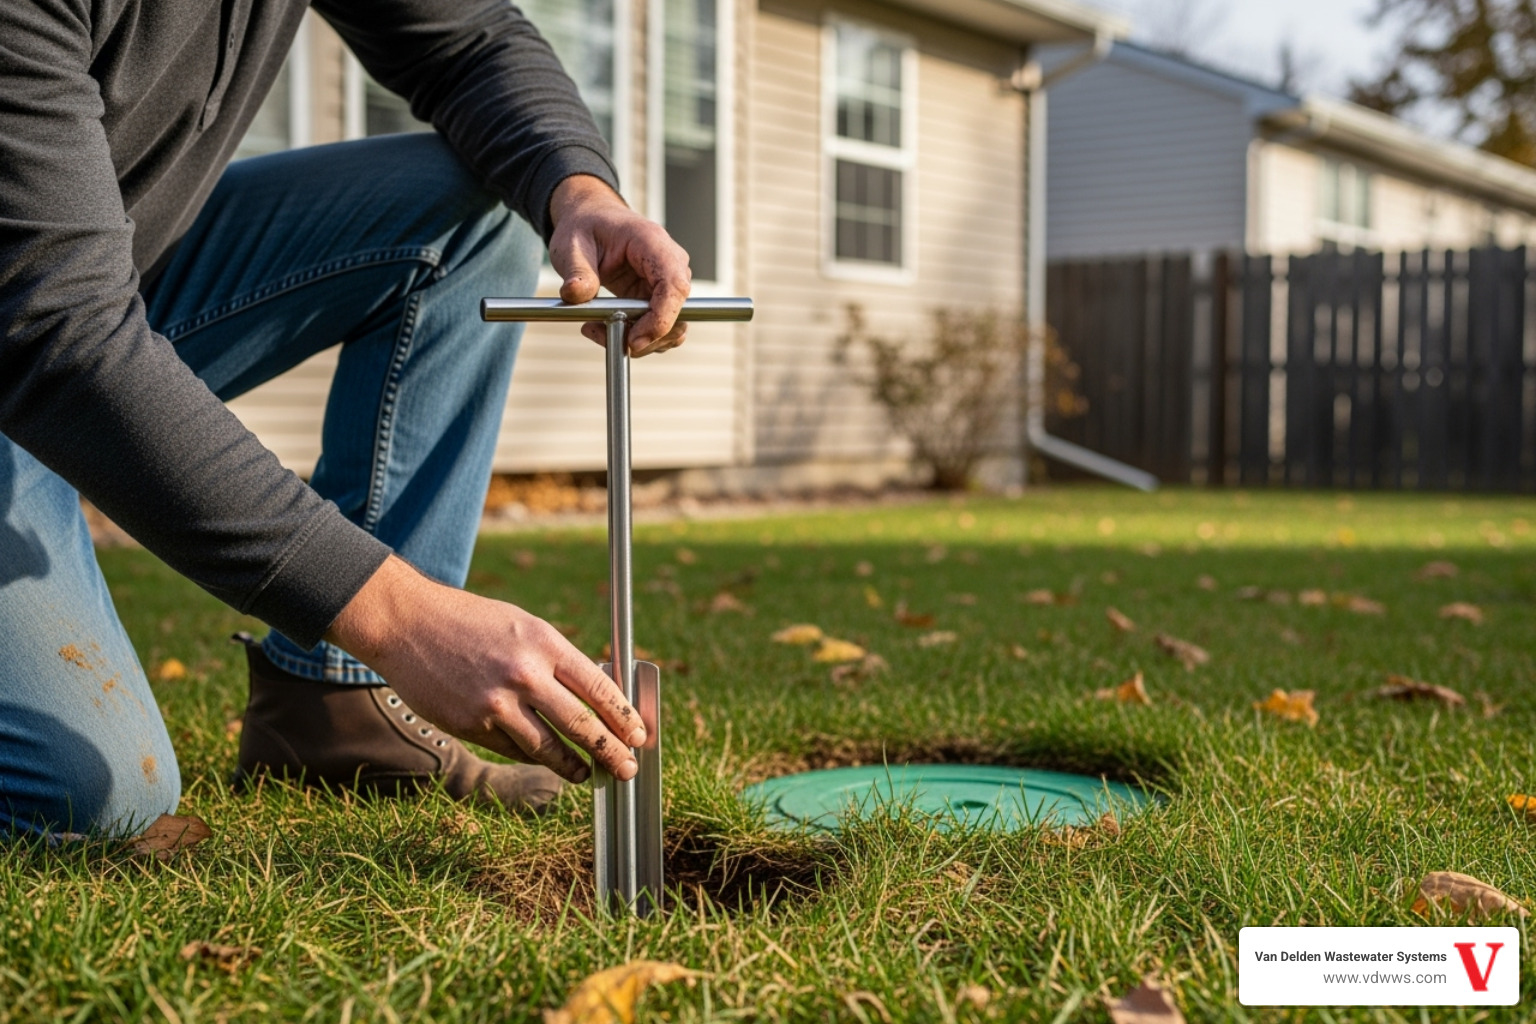
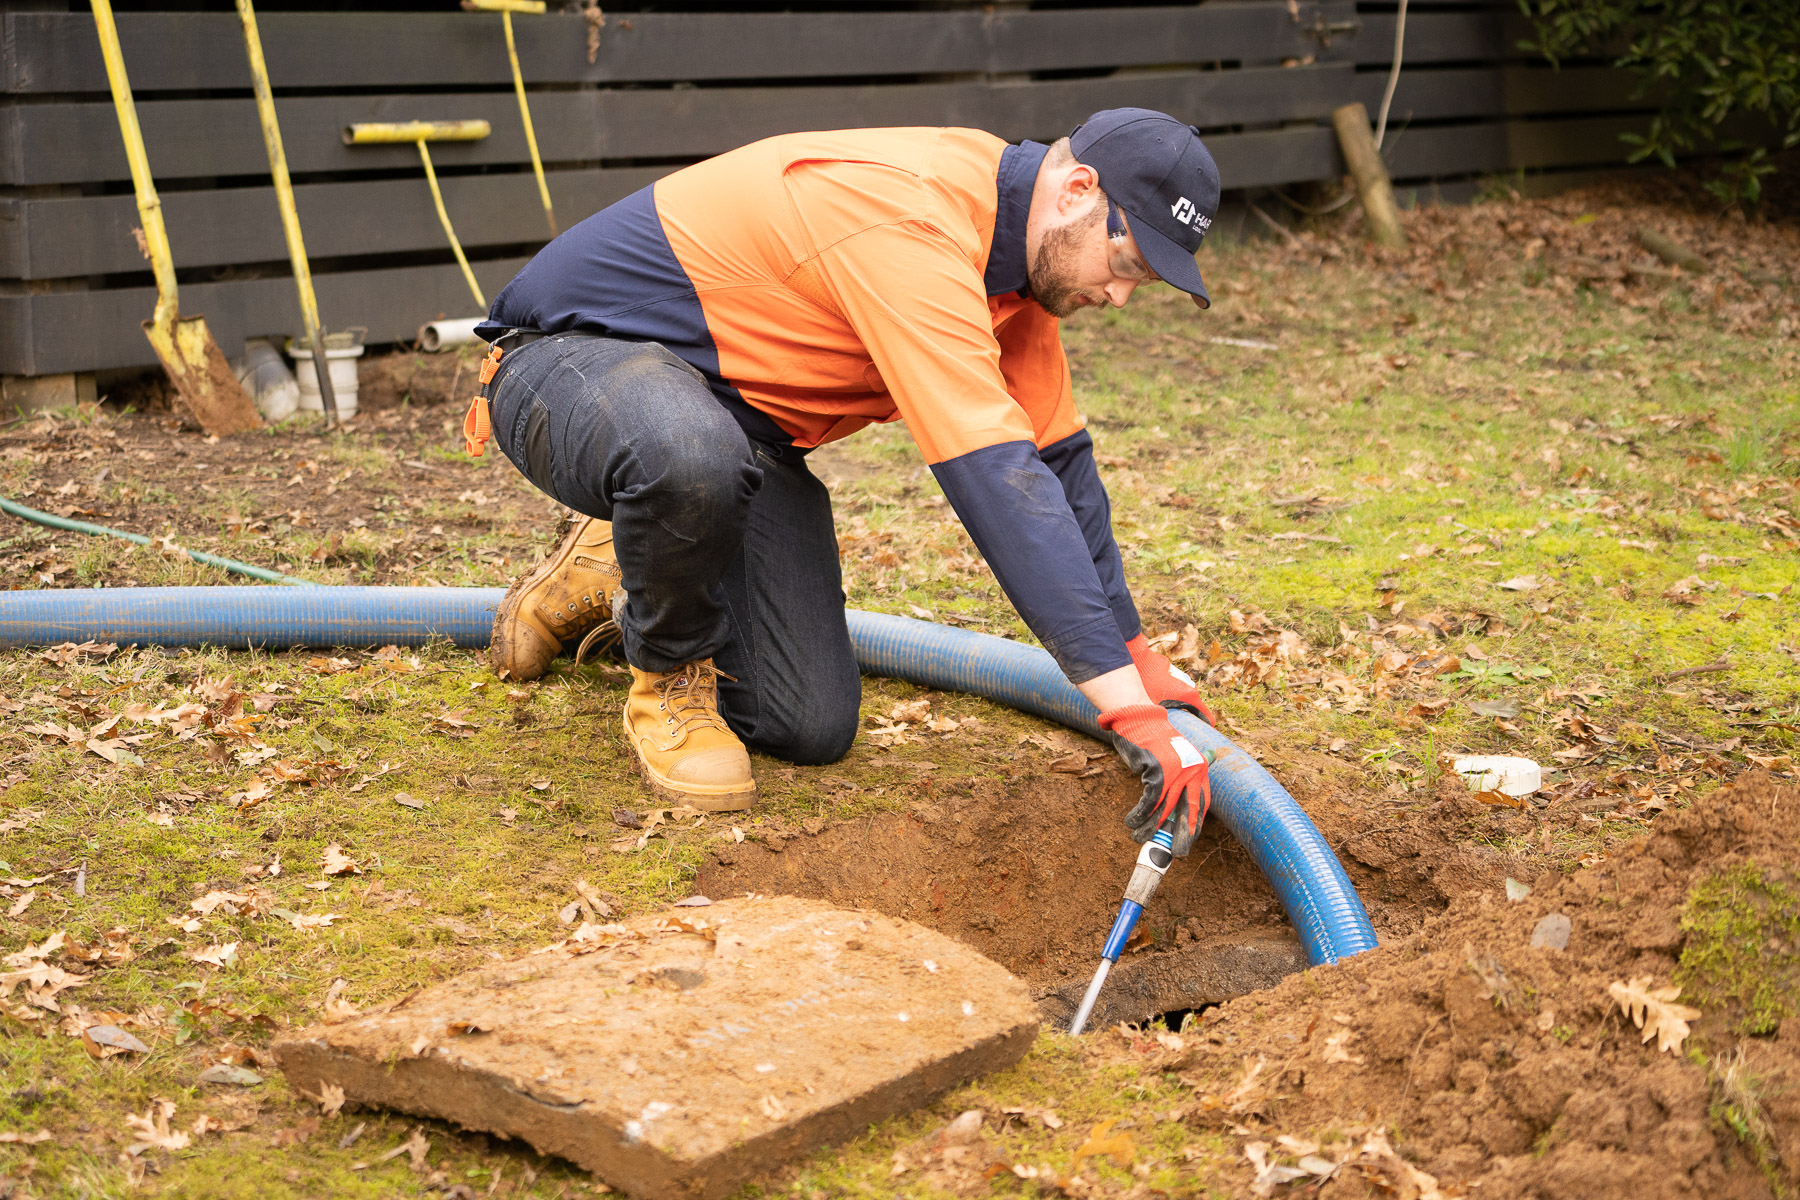
| Safety Gear | Protecting workers during installation | Gloves, helmets, boots, eye protection |
Detailed Tool Descriptions

Excavator
An excavator is indispensable for digging the large hole required for the septic tank. Its power and precision allow for efficient excavation, minimizing manual labor and reducing installation time.
Shovels
While heavy machinery does most of the digging, shovels are essential for detailed work, such as shaping the hole and adjusting soil around the tank.
Laser Level
Proper slope is crucial for septic system functionality. A laser level ensures pipes are installed at the correct angle to facilitate waste flow and prevent blockages.
Pipe Cutter and Pipe Wrench
These tools are vital for preparing and securing the piping system. Accurate cutting and tight fittings prevent leaks and system failures.
Compactor
After installation, compacting the soil around the tank prevents settling and maintains system integrity.
Safety Gear
Safety cannot be overlooked. Proper protective equipment safeguards workers from potential hazards during excavation and installation.
Step-by-Step Installation Process Using These Tools
- Site Preparation: Use the excavator to dig the hole.
- Fine Tuning: Employ shovels to adjust the hole dimensions.
- Leveling: Use the laser level to check slopes.
- Pipe Preparation: Cut pipes to size with the pipe cutter.
- Pipe Installation: Secure pipes using the pipe wrench.
- Backfilling: Compact soil with the compactor.
- Safety Checks: Ensure all safety gear is used throughout.
Frequently Asked Questions (FAQ)
Q1: Can I install a septic tank without heavy machinery?
A1: While possible for small tanks, heavy machinery like excavators significantly speeds up the process and ensures accuracy.
Q2: How important is the laser level in installation?
A2: Extremely important; it ensures proper pipe slope, which is critical for system function.
Q3: What safety gear is essential during installation?
A3: Gloves, helmets, boots, and eye protection are must-haves to prevent injuries.
Q4: How do I maintain the tools after installation?
A4: Clean tools after use, inspect for damage, and store them properly to extend their lifespan.
By using the right tools and following proper installation steps, you can ensure a durable and efficient septic system. Whether you are a professional or a homeowner, investing in quality tools and safety equipment is key to a successful septic tank installation.